
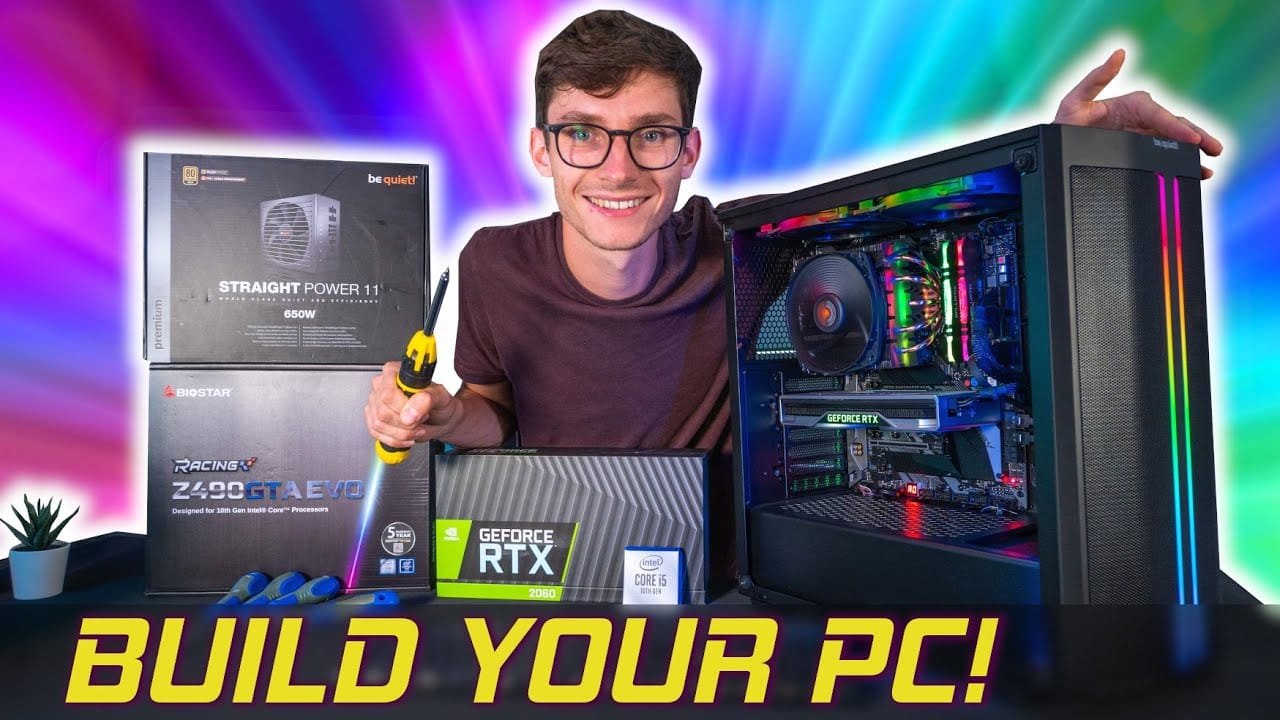
Building a gaming PC means choosing compatible parts, assembling them carefully, installing software, and testing performance.
Learning how to build a gaming PC can save money, improve performance, and give you full control over every part of your setup. This guide explains the process from planning and picking components to cable management, BIOS setup, drivers, and performance testing. It also includes practical lessons from real builds, so you can avoid costly mistakes and build with confidence.
Why Build a Gaming PC?
A custom gaming PC gives you more control than a prebuilt computer. You choose the processor, graphics card, storage, cooling, case, and power supply based on your needs.
A well-planned build can also offer better value. You do not pay for parts you do not need, unwanted software, or weak components hidden behind a flashy case.
The main benefits include:
• Better gaming performance for your budget
• Easy upgrades in the future
• More control over noise and cooling
• A system designed for your favorite games
• The satisfaction of building something yourself
There are limits, too. Building a PC takes time, and compatibility mistakes can cause delays. You also need to install the operating system, update drivers, and solve any problems that appear.
In my first serious build, I spent too much on the processor and too little on the power supply. The PC worked, but the weak power supply limited future upgrades. That experience taught me an important lesson: every component matters, but some parts affect the whole system more than others.

Set a Gaming PC Budget
Before learning how to build a gaming PC, decide how much you can spend. A useful budget includes more than the computer itself.
Remember to account for:
• Monitor
• Keyboard and mouse
• Headset or speakers
• Windows or another operating system
• Extra case fans
• Wi-Fi adapter, if needed
• Tools and shipping costs
A basic gaming PC for 1080p gaming may cost around $700 to $1,000 in parts. A stronger system for high-refresh-rate 1440p gaming may cost $1,000 to $1,800. High-end 4K gaming systems can cost much more, especially when paired with a premium graphics card and monitor.
Prices change often. Graphics cards, memory, and storage can rise or fall based on demand and new product launches. Check several trusted retailers before buying, and compare the full cost rather than one part’s discount.
Try to spend the largest share of your budget on the graphics card. For most modern games, the GPU has the greatest effect on frame rate. Still, do not choose a powerful GPU with a very weak processor, poor cooling, or an unsafe power supply.

Choose the Right PC Components
Understanding each part makes how to build a gaming PC much easier. Think of the system as a team. The parts must work together, and one weak member can hold back the rest.
Processor
The central processing unit, or CPU, handles game logic, physics, background tasks, and many system processes.
Modern gaming CPUs from AMD and Intel can deliver excellent results. Choose a current model that fits your budget and supports your target resolution.
A midrange CPU is often enough for 1080p and 1440p gaming. Higher-end processors make more sense for competitive gaming at very high frame rates, streaming, video editing, or demanding simulation games.
Check the CPU socket before buying a motherboard. An AMD processor will not fit an Intel motherboard, and even CPUs from the same brand may require different sockets.
Graphics Card
The graphics processing unit, or GPU, creates the images you see on your monitor. It is usually the most important part for gaming performance.
When choosing a graphics card, consider:
• Your target resolution
• Your monitor’s refresh rate
• Ray tracing needs
• Video memory capacity
• Power consumption
• Case size
• Available display ports
A card designed for 1080p may struggle with demanding 4K games. A high-end 4K card may be wasteful if you use a 60 Hz 1080p monitor.
Features such as upscaling and frame generation can improve performance in supported games. However, these technologies do not remove the need for a capable GPU. Look at standard game benchmarks as well as enhanced modes.
Motherboard
The motherboard connects the CPU, memory, storage, graphics card, and other devices.
Choose a motherboard based on:
• CPU socket
• Chipset
• Memory type
• Number of M.2 slots
• USB ports
• Wi-Fi and Bluetooth support
• Expansion slots
• Power delivery quality
Motherboards usually come in ATX, Micro-ATX, and Mini-ITX sizes. The case must support the motherboard size you select.
A more expensive motherboard does not automatically make games run faster. Spend more when you need extra ports, stronger power delivery, more storage slots, or special features.
Memory
Random access memory, or RAM, stores data that the CPU needs quickly. For a modern gaming PC, 16 GB is a practical starting point. A 32 GB kit is a better choice for new games, streaming, heavy multitasking, and long-term use.
Use two matching memory modules when possible. This enables dual-channel operation and can improve performance.
Check the motherboard’s supported memory type and speed. DDR4 and DDR5 are different standards and are not interchangeable.
Storage
An NVMe solid-state drive is a strong choice for a gaming PC. It offers fast loading, silent operation, and simple installation through an M.2 slot.
A 1 TB SSD gives you room for Windows and several large games. A 2 TB drive is more comfortable if you play many modern titles.
A hard drive can provide cheap extra storage, but it is slower and louder. Use it for media, backups, or less frequently played games rather than your main game library.
Power Supply
The power supply unit, or PSU, converts wall power into usable power for the computer. It is one of the most important parts to choose correctly.
Look for:
• Enough wattage for the full system
• Reliable reviews and protections
• The correct motherboard and GPU connectors
• An appropriate efficiency rating
• A warranty from a trusted manufacturer
Do not select a cheap PSU simply because it has a high wattage number. A poor-quality unit can damage components or shut down during demanding games.
Use the graphics card maker’s recommended wattage as a starting point. Add extra capacity for future upgrades, but avoid extreme overbuying.
Case
The case protects your hardware and controls airflow. A case with a mesh front panel often provides better cooling than a sealed design.
Before buying, confirm that the case supports:
• Your motherboard size
• Your graphics card length
• Your CPU cooler height
• Your power supply size
• Your radiator size, if using liquid cooling
A beautiful case with poor airflow can make a gaming PC hot and noisy. Good airflow is often more valuable than decorative lighting.
CPU Cooler and Case Fans
Some processors include a cooler. Others require a separate air cooler or liquid cooler.
For most gaming systems, a quality air cooler is affordable, reliable, and easy to maintain. A liquid cooler can work well, but it adds a pump, radiator, and more points of failure.
Aim for balanced airflow. Front or bottom fans usually bring in cool air, while rear or top fans exhaust warm air.

Check Compatibility Before You Buy
Compatibility is the foundation of how to build a gaming PC. Use a parts compatibility tool, but also verify key details yourself.
Check these items:
• CPU and motherboard socket
• CPU support through the motherboard BIOS
• DDR4 or DDR5 memory support
• Motherboard and case size
• GPU length and thickness
• CPU cooler height or radiator support
• PSU wattage and connectors
• Number of storage slots
• Operating system requirements
Pay special attention to graphics card power connectors. Newer cards may use modern high-power connectors, while older power supplies may use different cables. Use the cable supplied with the PSU when possible, and connect it fully without sharply bending it near the plug.
Also check BIOS support. A motherboard may physically fit a new CPU but need a BIOS update before it can start. A board with BIOS flashback can make this update easier.
I once helped diagnose a new PC that showed no display. The parts were compatible, but the motherboard had an older BIOS version. The fix was simple, yet checking CPU support before buying would have prevented the delay.
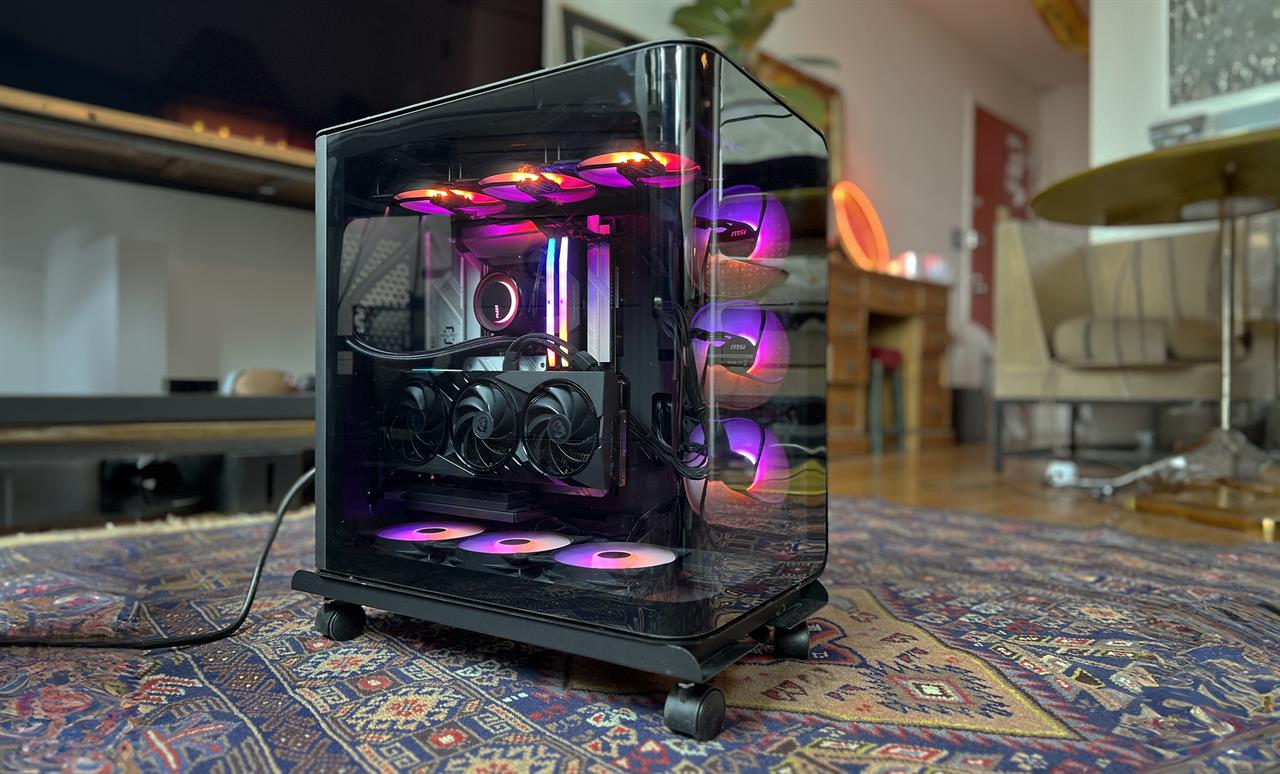
Prepare Your Workspace and Tools
You do not need a large tool collection for how to build a gaming PC. A clean table, good lighting, and patience are more important.
Gather:
• Phillips screwdriver
• Small container for screws
• Anti-static wrist strap, if available
• Zip ties or reusable cable straps
• Flash drive for the operating system
• Motherboard manual
• Component manuals
Work on a hard surface, not a thick carpet. Touch the metal case before handling components to reduce static risk. Keep parts in their anti-static bags until you need them.
Read the motherboard manual before installing cables. The manual shows the location of front-panel pins, fan headers, storage slots, and memory slots.
Avoid forcing any component. Computer parts are designed to fit with light, steady pressure. If something does not fit, check its alignment rather than pushing harder.
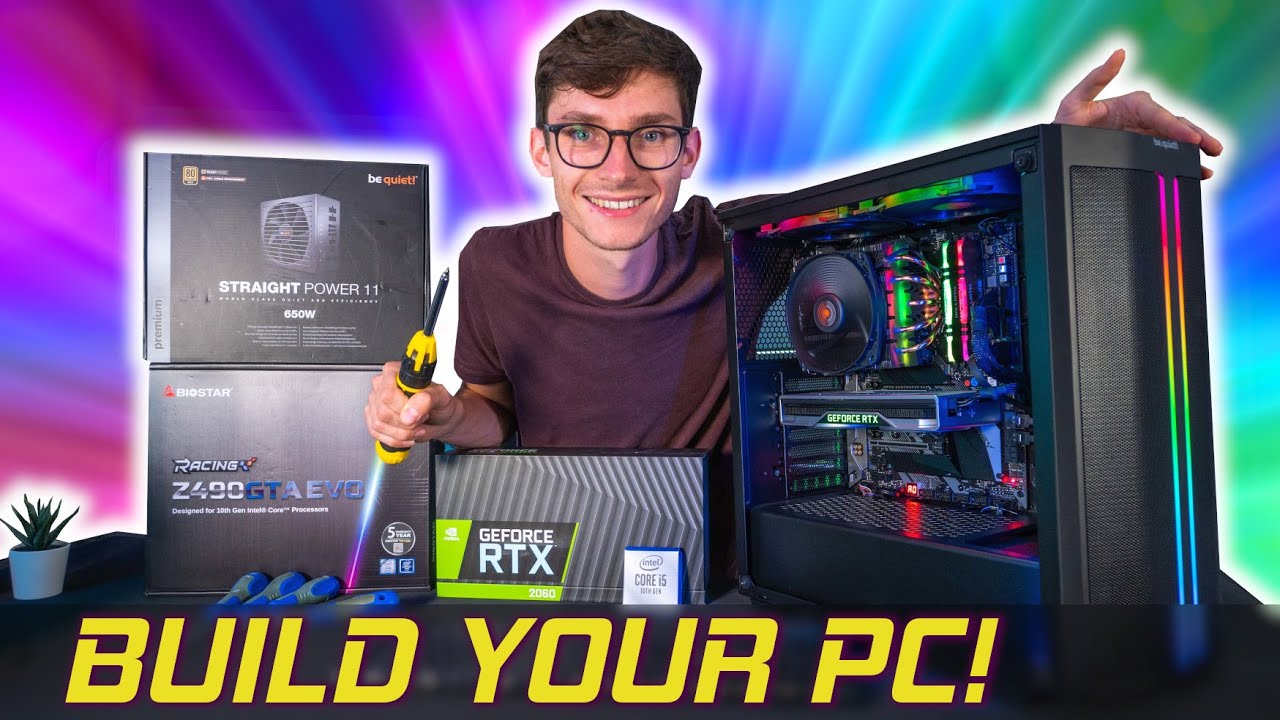
Install the Core Components
Most builders install the processor, memory, and storage on the motherboard before placing it in the case. This gives you more room to work.
Install the CPU
Open the CPU socket retention arm. Align the small marker on the processor with the matching marker on the socket.
Lower the CPU gently into place. Do not slide it across the socket or touch the delicate contacts. Lock the retention arm after the processor sits correctly.
Install the M.2 SSD
Find the M.2 slot on the motherboard. Remove its small heatsink or mounting screw if present.
Insert the SSD at a slight angle. Press it down gently and secure it with the correct screw. Replace the heatsink if the motherboard includes one.
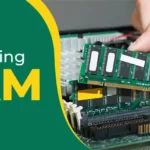
Install the RAM
Open the memory slot latches. Use the motherboard manual to find the correct slots. On many boards, two modules belong in the second and fourth slots from the CPU, but the manual is the final authority.
Align the notch on the RAM with the ridge in the slot. Press down evenly until the latches click into place.
Install the CPU Cooler
If the cooler includes a mounting bracket, install the correct bracket for your CPU socket.
Some coolers have thermal paste already applied. If yours does not, place a small dot of paste in the center of the CPU. A pea-sized amount is usually enough.
Mount the cooler evenly and connect its fan cable to the CPU fan header. Do not forget this cable. Many motherboards will warn you if no CPU fan is detected.
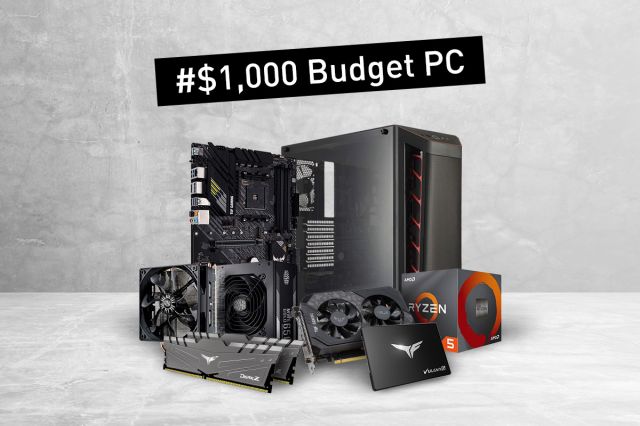
Install the Motherboard and Graphics Card
First, install the motherboard’s rear I/O shield if it is separate. Some newer boards include a shield attached to the motherboard.
Confirm that the case has the correct standoffs installed. Standoffs keep the motherboard from touching the metal case. Extra standoffs in the wrong place can cause a short circuit.
Lower the motherboard into the case and align it with the I/O opening and standoffs. Secure it with the correct screws, but do not overtighten them.
Next, install the power supply. Point its fan toward a vent when the case design allows it. Route the main power cables through the cable openings before installing the graphics card.
For the graphics card:
Remove the matching expansion slot covers.
Open the motherboard’s top PCIe slot latch.
Align the card with the slot.
Press down until the card clicks into place.
Secure the card to the case.
Connect the required power cables.
Use the top PCIe slot unless the motherboard manual says otherwise. It usually provides the best connection for the primary graphics card.
Support a very large graphics card with a bracket if needed. This reduces stress on the motherboard slot and prevents the card from sagging.
Connect Power and Front-Panel Cables
Cable connections can feel confusing, but the motherboard manual makes them manageable.
Connect:
• 24-pin motherboard power
• Eight-pin or four-plus-four CPU power
• Graphics card power
• CPU cooler fan
• Case fans
• Front-panel power switch
• Front USB ports
• Front audio
• SATA power for compatible devices
The front-panel connectors are often the most frustrating part. Their small labels can be hard to read, so use the diagram in the manual.
The power switch cable has a simple function. Its orientation usually does not matter, unlike some LED cables. If the PC does not start, check this connection first.
Keep power cables away from fans. Use the back of the case for cable routing, but do not crush the side panel against a thick bundle of wires.
Neat cable management is not only about appearance. It can improve airflow and make future upgrades easier.

Perform the First Boot
After you finish how to build a gaming PC, do a careful inspection before pressing the power button.
Check that:
• The motherboard power cable is connected
• The CPU power cable is connected
• RAM is fully seated
• The graphics card is fully seated
• The monitor cable is connected to the graphics card
• The CPU cooler is connected
• No tools or loose screws remain inside
Turn on the power supply, then press the case power button. The first boot may take longer than expected, especially while the motherboard trains the memory.
If there is no display, stay calm. Check the monitor input, graphics card cable, RAM seating, and motherboard diagnostic lights.
Common causes of a failed first boot include:
• Loose memory
• Missing CPU power
• Display cable connected to the wrong port
• Incorrect front-panel wiring
• Unsupported BIOS version
• Unplugged power supply switch
Most first-boot problems are simple connection issues. Move through the checklist slowly instead of removing every component at once.
Configure BIOS Settings
The BIOS, or UEFI firmware, controls basic hardware settings before the operating system starts.
Enter the BIOS by pressing the required key during startup. Common keys include Delete and F2, but the motherboard manual will confirm the correct key.
In the BIOS, check that the CPU, memory, SSD, and fans appear correctly. Look at CPU temperature as well. A normal idle temperature varies by cooler, room temperature, and processor model, so do not judge it from one number alone.
Enable the memory profile called EXPO on many AMD systems or XMP on many Intel systems. This allows compatible memory to run at its rated speed rather than a slower default speed.
You should also:
• Set the correct boot device
• Confirm the fan mode
• Check the CPU temperature
• Update the BIOS if needed
• Save changes before exiting
Only update the BIOS when necessary or when the release solves a problem you have. Follow the motherboard maker’s instructions and do not turn off the PC during the update.
Install the Operating System and Drivers
Create a bootable operating system drive with a USB flash drive. Use a drive with enough capacity and download installation files from the official provider.
During setup, select your SSD as the installation drive. After Windows or another operating system starts, install the essential drivers.
Install:
• Motherboard chipset drivers
• Graphics card driver
• Network driver, if needed
• Audio driver, if needed
• Operating system updates
Download graphics drivers from the official graphics card maker. Avoid random driver websites, which may provide outdated or unsafe files.
After installing drivers, restart the PC and confirm that Device Manager shows no major errors. Then install your game launcher and favorite games.
Keep the operating system and drivers updated, but do not install unnecessary driver utility programs. They may add background tasks or unwanted notifications.
Test Gaming Performance and Temperatures
Testing confirms that your new gaming PC is stable. Start with basic checks before running demanding games.
Monitor:
• CPU temperature
• GPU temperature
• Fan speed
• Frame rate
• System crashes
• Memory errors
Play a demanding game for at least 20 to 30 minutes. Watch for sudden shutdowns, visual artifacts, stuttering, or unusual noise.
Use a frame-rate monitor to compare performance with reviews of similar hardware. Results will vary with game patches, drivers, resolution, graphics settings, and background programs.
Synthetic benchmarks can help, but real games matter more. A PC that scores well in a benchmark may still perform poorly in one badly optimized title.
If temperatures are high, check airflow first. Confirm that fans point in the correct direction, the cooler is mounted evenly, and protective plastic was removed from the cooler base.
Do not chase the lowest possible temperature at all costs. Modern processors are designed to adjust their speed and temperature within safe limits. Stable performance and reasonable noise are better goals.
Improve Airflow and Cable Management
Good airflow works like an open window. Cool air enters, warm air leaves, and the system avoids holding heat inside.
A common setup includes:
• Two or three front intake fans
• One rear exhaust fan
• Optional top exhaust fans
Avoid placing all fans as intake or all fans as exhaust. Balanced airflow is easier to manage.
Route cables behind the motherboard tray. Group cables by path, but leave enough slack for maintenance. Do not block front intake fans with a thick cable bundle.
Dust filters help, but they do not remove the need for cleaning. Inspect the filters every few months, especially if you have pets or live in a dusty area.
My most useful airflow lesson came from a compact build with a glass front panel. The parts looked great, but the GPU ran hot. Replacing the front panel with a mesh option lowered temperatures and reduced fan noise more than adding expensive software ever could.
Avoid Common PC Building Mistakes
Knowing how to build a gaming PC also means knowing what not to do.
Avoid these mistakes:
• Buying parts before checking compatibility
• Using one memory stick when a matched pair is available
• Connecting the monitor to the motherboard instead of the graphics card
• Forgetting the CPU power cable
• Reusing an old, low-quality power supply
• Installing the graphics card in the wrong slot
• Applying too much thermal paste
• Removing the cooler without replacing thermal paste
• Blocking airflow with poorly routed cables
• Ignoring BIOS and driver updates when troubleshooting
Do not compare your frame rate directly with another person’s result unless the settings match. Resolution, ray tracing, upscaling, game version, and background apps can change results.
Avoid rushing. A careful build can take two to four hours for a first-time builder. The extra time spent reading the manual is much cheaper than replacing damaged hardware.
Plan Future Upgrades
One advantage of learning how to build a gaming PC is that you can upgrade it over time.
The easiest upgrades are usually:
• More storage
• Additional memory
• A faster graphics card
• A stronger CPU supported by the motherboard
• Better case fans
Before upgrading, check power supply capacity, case clearance, motherboard support, and cooling needs.
Do not upgrade only because a new part exists. Upgrade when your current system fails to meet a real need, such as low frame rates, long loading times, or insufficient storage.
A balanced upgrade often produces better results than replacing one part blindly. For example, a faster graphics card may need a stronger power supply or a better CPU to reach its full potential.
Keep your old components until the new build is stable. Having a spare memory kit or graphics card can make troubleshooting much easier.
Frequently Asked Questions About How to Build a Gaming PC
Is it hard to build a gaming PC for the first time?
Building a gaming PC is easier than it first appears because most components only fit in one correct position. Read the manuals, check compatibility, and avoid forcing parts into place.
How much does it cost to build a gaming PC?
A practical gaming PC can cost about $700 to $1,000, while stronger 1440p systems often cost $1,000 to $1,800. The final price depends on the graphics card, storage, monitor, operating system, and current market prices.
What is the most important part of a gaming PC?
The graphics card usually has the greatest effect on gaming frame rates. However, the CPU, memory, power supply, cooling, and monitor must also match the system for balanced performance.
Do I need thermal paste to build a gaming PC?
You need thermal paste between the processor and cooler unless the cooler already has paste applied. Use a small amount and spread it only if the cooler instructions recommend doing so.
How much RAM does a gaming PC need?
Sixteen gigabytes is enough for many games, but 32 GB is a better long-term choice for modern games, streaming, and multitasking. Use matched modules and place them in the recommended motherboard slots.
Should I buy an SSD or a hard drive for gaming?
An SSD is the better choice for the operating system and active games because it loads data much faster and operates silently. A hard drive is useful for backups and large files when storage cost matters more than speed.
Can I build a gaming PC without Windows?
Yes. You can use another operating system, such as a Linux distribution, if it supports your games and hardware. Windows remains the simplest option for broad game and driver compatibility.
How long does it take to build a gaming PC?
An experienced builder may finish in one to two hours. A first-time builder should set aside two to four hours, including setup, cable management, software installation, and testing.
Conclusion
Learning how to build a gaming PC starts with a realistic budget and compatible parts. Choose the graphics card based on your resolution, match the processor and motherboard, use reliable power, and give cooling enough attention.
Build slowly, follow the motherboard manual, and test each stage with care. Most problems come from loose cables, unseated memory, incorrect settings, or missed compatibility details.
Once the PC boots, install current drivers, check temperatures, and test your favorite games. Your first build may not be perfect, but every step teaches you more about hardware and makes future upgrades easier. Use this guide as your checklist, then start planning your build and share your questions or results in the comments.