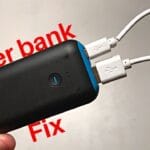
How to Fix Powerbank or Fixing a Powerbank isn’t as hard as it seems. You can often solve the issue at home with some simple steps.
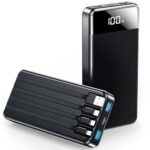
Power banks are essential gadgets in our daily lives. They keep our devices charged on the go. But what happens when your power bank stops working? Don’t rush to buy a new one just yet. Many common problems can be fixed at home.
From battery issues to charging problems, there are solutions you can try. This guide will help you understand how to fix your power bank. We’ll cover easy steps to get it working again. So, grab your tools and let’s get started. Fixing your power bank might be easier than you think.
Common Powerbank Issues
Powerbanks are handy for charging devices on the go. But, they can face problems. Knowing the common issues helps in How to Fix Powerbank. Let’s look at some of these issues.
Not Charging
Sometimes, your powerbank may not charge. This can be frustrating. Check the charging cable first. It might be damaged. Try using a different cable.
Inspect the powerbank’s port. Dust or debris can block it. Clean the port gently. Also, ensure the power source is working. Plug the charger into a different outlet.
Overheating
Overheating is a common issue. It can damage the powerbank. Always charge your powerbank in a cool place. Avoid leaving it in direct sunlight.
If the powerbank gets too hot, stop charging it. Let it cool down before using it again. Overheating can also be due to overuse. Give your powerbank a break between charges.
Safety Precautions
Fixing a powerbank involves various steps. Safety precautions are vital during this process. Mishandling batteries or causing short circuits can be dangerous. Follow these safety tips to stay safe while repairing your powerbank.
Handling Batteries
Always handle batteries with care. Use insulated tools to avoid direct contact. Wear protective gloves to prevent skin irritation. Check for any visible damage on the battery. If the battery is swollen, avoid using it. Dispose of damaged batteries properly. Never puncture or crush a battery. Keep batteries away from metal objects.
Avoiding Short Circuits
Avoid short circuits by keeping the work area clean. Use a non-conductive surface to work on. Do not touch battery terminals with metal objects. Insulate any exposed wires before reconnecting. Double-check connections to ensure they are secure. Use a multimeter to test for shorts before powering on. Stay vigilant and focused while working.
Required Tools
To fix a powerbank, you need a few essential tools. These tools help you open, test, and repair the device. Below is a list of the required tools, along with their uses.
Screwdrivers
Screwdrivers are essential for opening the powerbank case. You will need a set of small screwdrivers. Preferably, use a set that includes both Phillips and flat-head screwdrivers.
| Type | Use |
|---|---|
| Phillips | For screws with cross-shaped slots |
| Flat-head | For screws with straight slots |
Multimeter
A multimeter is crucial for testing the powerbank’s components. It helps you measure voltage, current, and resistance.
- Voltage: Check if the battery is charged.
- Current: Ensure proper flow of electricity.
- Resistance: Identify any short circuits.
Set the multimeter to the correct setting. Follow the manual for safe usage.
Diagnosing The Problem
If your power bank is not working, the first step is to diagnose the issue. This process will help you identify the root cause of the problem. Follow the steps below to fix your power bank.
Visual Inspection
Begin with a visual inspection of the power bank. Check for any obvious signs of damage.
- Examine the outer casing for cracks or dents.
- Look for any burnt or melted parts.
- Inspect the USB ports for loose or broken connections.
If you find any visible damage, it might be the reason your power bank is not working.
Testing The Circuit
If the visual inspection does not reveal any issues, the next step is to test the circuit. This will help you determine if the internal components are functioning correctly.
- Use a multimeter to check the battery voltage.
- Ensure the voltage is within the range specified by the manufacturer.
- If the voltage is too low, the battery may need to be replaced.
You can also test the charging circuit. Connect the power bank to a charger and check if the charging indicator lights up.
- If the light does not turn on, the charging circuit might be faulty.
- Consider replacing the charging circuit or the entire power bank.
Diagnosing the problem can save you time and money. It helps you understand whether the power bank is fixable or needs replacement.
Repairing The Battery
Powerbanks are essential for keeping our devices charged. Over time, the battery inside a powerbank may lose its efficiency. It may stop holding a charge or work poorly. If you want to repair your powerbank, you will need to address the battery first. This process involves replacing cells and balancing the charge.
Replacing Cells
First, open the powerbank case carefully. Use a small screwdriver to remove any screws. Once inside, locate the battery cells. These are usually cylindrical and connected in series. Take note of how they are arranged and connected. Use a multimeter to check the voltage of each cell. If one or more cells show a low voltage, they need replacement. Obtain new cells with the same specifications. Carefully disconnect the old cells. Solder the new cells in the same arrangement. Ensure all connections are secure. Avoid short circuits by being cautious with metal tools. Close the powerbank case and secure the screws.
Balancing The Charge
After replacing the cells, balance the charge. This step ensures all cells charge and discharge evenly. Use a battery management system (BMS) for this purpose. Many powerbanks have a built-in BMS. If yours does, check it for damage. If it looks fine, proceed with charging the powerbank fully. Once fully charged, let it discharge completely. Repeat this cycle a few times. This process helps the BMS learn the new cell capacities. If the BMS is damaged, replace it with a new one. Follow the same steps as with the cells. Ensuring a balanced charge improves the lifespan and performance of your powerbank.

Credit: www.instructables.com
Fixing Charging Port
Experiencing issues with your power bank’s charging port can be frustrating. Yet, fixing it is often easier than expected. Follow these simple steps to get your power bank working again.
Cleaning Debris
Dirt and debris can clog the charging port. This prevents proper connections. To clean it, follow these steps:
- Turn off your power bank.
- Use a soft brush to remove visible dirt.
- Gently insert a toothpick to clear deeper debris.
- Use compressed air to blow out remaining particles.
Ensure the port is clear before testing the power bank. This often resolves many charging issues.
Soldering Connections
Loose connections can also cause charging problems. Here’s how to fix them:
- Disassemble the power bank carefully.
- Locate the charging port and inspect the connections.
- If you see loose wires, use a soldering iron to reattach them.
- Let the solder cool before reassembling the power bank.
Be cautious while soldering to avoid damage. This step requires some skill, so take your time.
By cleaning debris and soldering connections, you can fix most charging port issues. These simple steps can save you time and money.
Firmware And Software Issues
Firmware and software issues can cause your powerbank to malfunction. These problems might prevent the powerbank from charging or holding a charge. Luckily, there are ways to fix these issues. Updating the firmware or resetting the powerbank can often resolve these problems.
Updating Firmware
Updating the firmware can solve many problems with your powerbank. Firmware updates fix bugs and improve performance. Check the manufacturer’s website for firmware updates. Download the update file to your computer.
Connect your powerbank to your computer using a USB cable. Follow the instructions on the manufacturer’s website to install the update. Make sure the powerbank stays connected during the update process. After updating, test your powerbank to see if the issue is fixed.
Resetting The Powerbank
Resetting the powerbank can also fix software issues. Look for a reset button on your powerbank. It might be a small hole that you need to press with a pin or paperclip.
Press and hold the reset button for a few seconds. Release the button and wait for the powerbank to restart. This process can clear any software glitches. Test your powerbank again to see if it works properly.
Reassembling The Powerbank
Reassembling a powerbank after fixing or inspecting it is crucial. Proper reassembly ensures the powerbank functions correctly. Follow these steps for reassembling your powerbank efficiently.
Securing Components
Begin by placing the battery and circuit board back into the casing. Ensure the battery sits snugly in its compartment. Align the circuit board with the screw holes.
Screw the circuit board securely in place. Use the appropriate screwdriver to avoid damaging the screws. Double-check that all connections are tight and secure.
Ensuring Proper Function
Before sealing the casing, test the powerbank. Connect a device to the powerbank to check if it charges. If it does, the reassembly was successful.
If the powerbank does not work, check for loose connections. Ensure all components are correctly placed. Once confirmed, close the casing and screw it shut.
Reassembling the powerbank correctly ensures it works safely and efficiently.
Testing And Verification
Once you have attempted to fix your powerbank, you need to test and verify its functionality. This step ensures the powerbank works correctly and safely. Follow these instructions to check the charge rate and verify safety.
Checking Charge Rate
Connect your powerbank to a device. Observe how quickly the device charges. Use a USB multimeter to measure the output voltage and current. Ensure the readings match the powerbank’s specifications. If the charge rate seems slow, there might be an internal issue. Consider rechecking the connections inside the powerbank.
Verifying Safety
Safety is crucial when dealing with electronic devices. Check the powerbank for any unusual signs. Look for swelling, overheating, or strange smells. These indicate potential hazards. Ensure the powerbank does not overheat while charging. It should remain cool to the touch. Also, verify that it stops charging automatically once the device is fully charged. This prevents battery damage.

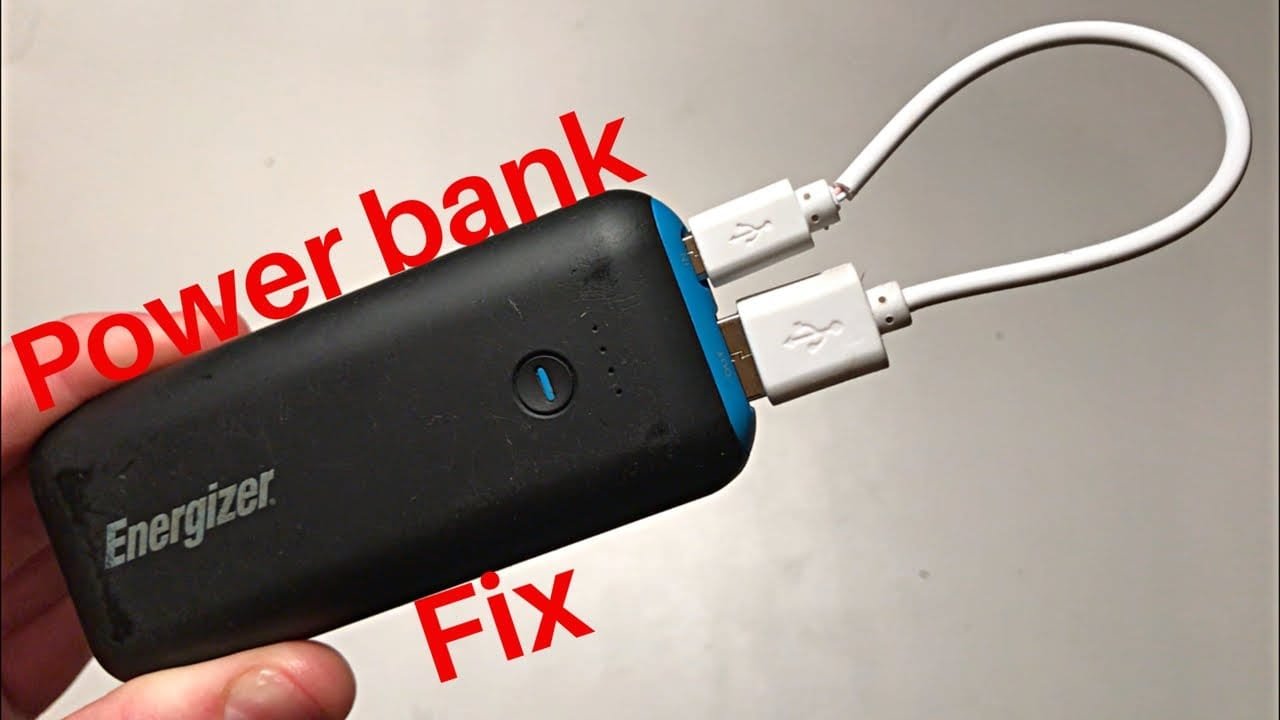
Credit: www.youtube.com
Maintenance Tips
How to Fix Powerbank. To keep your power bank functioning optimally and extend its lifespan, regular maintenance is essential. Proper care can prevent many common issues, ensuring your device remains reliable when you need it most.
Regular Cleaning
Dust and debris can accumulate in the ports of your power bank, causing connectivity problems. Use a soft, dry cloth to clean the exterior of the power bank.
- Ensure the device is powered off before cleaning.
- Use a cotton swab to gently clean the USB ports.
- Avoid using water or cleaning solutions.
Regular cleaning can prevent dust build-up and maintain a strong connection.
Optimal Storage
Storing your power bank correctly can significantly impact its longevity. How to Fix Powerbank. Follow these tips for optimal storage:
- Keep the power bank in a cool, dry place.
- Avoid exposure to extreme temperatures.
- Store the device with a 50% charge to prevent battery degradation.
Using a protective case can also shield the power bank from physical damage.
| Issue | Maintenance Tip |
|---|---|
| Dust in Ports | Clean regularly with a cotton swab. |
| Overheating | Store in a cool, dry place. |
| Battery Degradation | Store with a 50% charge. |
Following these simple maintenance tips can keep your power bank in top condition. A well-maintained power bank ensures you have a reliable power source whenever you need it.

Credit: www.quora.com
Frequently Asked Questions
How Do I Know If My Powerbank Is Faulty?
If your powerbank is not charging or discharging properly, it might be faulty. Check for overheating, unusual noises, or physical damage. If it shows no signs of life, it may need repair or replacement.
Can I Repair My Powerbank Myself?
Yes, you can repair some issues yourself. Replace the battery if it’s dead or check the internal connections. However, for complex issues, seek professional help to avoid further damage.
Why Is My Powerbank Not Charging?
Your powerbank might not charge due to a faulty cable or adapter. Ensure connections are secure and try another cable. If it still doesn’t charge, the internal battery or circuitry might be damaged.
How Long Does A Powerbank Last?
A powerbank’s lifespan varies depending on usage and quality. Generally, it lasts between 300 to 500 charge cycles. Proper care, like avoiding overcharging and extreme temperatures, can extend its life.
Conclusion
How to Fix Powerbank. Fixing a powerbank can be simple. Follow these steps for a quick solution. Always check the battery and connections first. Clean any dust or debris. Replace the battery if necessary. Test the powerbank after each step. Regular maintenance helps avoid future problems.
Keep the powerbank in a cool, dry place. A well-maintained powerbank lasts longer. Now, you can enjoy a reliable power source on the go. Happy charging!